Our Blog

Reiki Box: How to Make One + How to Use It (Step-by-Step)

Mar 05, 2026 |
Twitter
Reiki Box: How to Make One + How to Use It (Step-by-Step)

How to create and use a Reiki Box for distance Reiki. Includes a simple step-by-step method - For Reiki Level 2 Practitioners

How to Make a Simple Reiki Box (and What It’s Used For)

Did you ever hear about a Reiki Box?
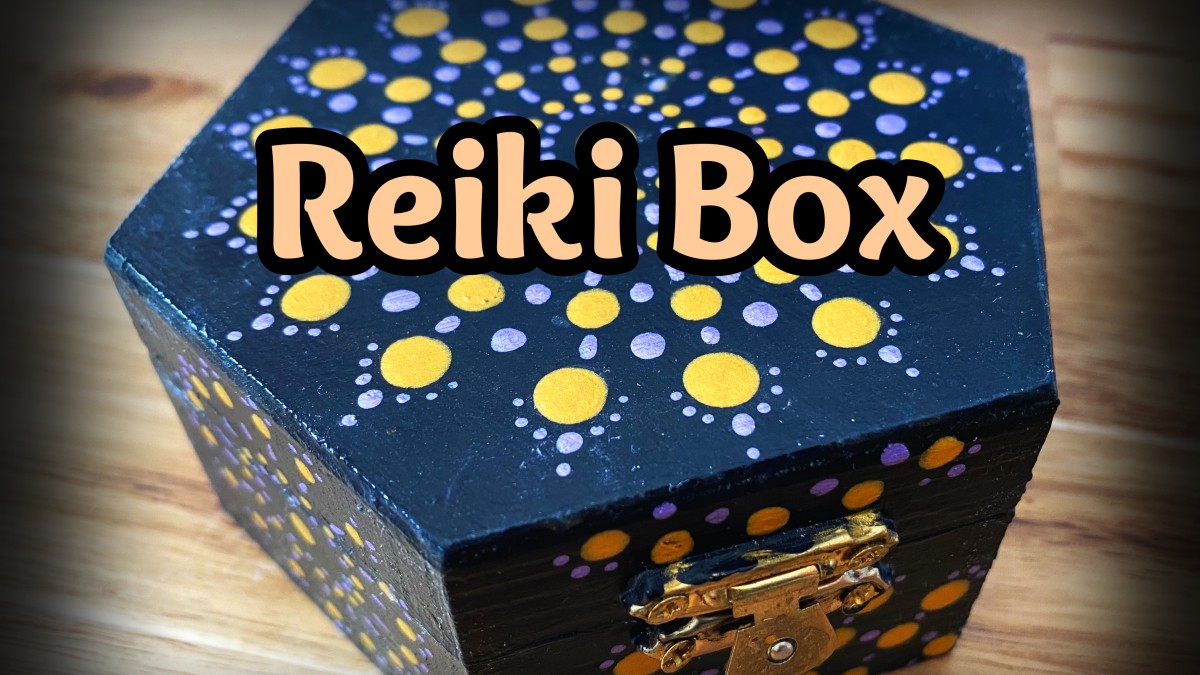
I learned this method when I learned Reiki Level 2, and I still like to use it at times. When I taught Reiki here in my house in small groups, I had some students there who had already learned Reiki Level 2 somewhere else, but wanted to refresh their knowledge. And when I practiced with them, they were amazed by what you can do with Reiki Level 2.

So I thought: maybe not every Reiki student knows this simple method with the Reiki Box. So I will write it here today and maybe give you, as a Reiki Level 2 practitioner, some inspiration - in case you don’t know this yet.

What Is a Reiki Box?

A Reiki Box is a simple, practical tool Reiki practitioners often use to focus intention and support distance Reiki work.

Think of it as a special box for your healing intention - a place where you place someone’s name (or a photo) in the box, connect to Reiki, and send energy with focus.

The good thing is: you can put more than just one person’s name or picture in it.

I teach Reiki Box work inside my Reiki Level 2 training, because it’s a beautiful way to work with distance Reiki - especially when you want to send Reiki to more than one person, or when you want to keep a steady intention going for a while.

What You Need for a Simple Reiki Box

You don’t need anything fancy.

  • A small wooden box (you can get them in any crafting area)
  • Optional: paint, stickers, crystals, or anything that feels meaningful to you
  • Small pieces of paper (or a photo)
  • A pen

You can decorate it, paint it, add symbols, or leave it completely plain. The most important part is that it feels like a special place for your Reiki intention.

Before You Use the Ready-to-Go Reiki Box

When I make a new Reiki Box, I like to set it up in a way that feels protected, grounded, and “active” right from the beginning. I basically activate the Reiki Box.

Step 1: Cleanse it (simple and practical)

Choose whatever feels easy:

  • Wipe it gently and tidy your space.
  • Use sound (clapping, a bell, or a singing bowl).
  • Smoke cleanse (if you like and it’s safe in your space).
  • Use the Reiki symbols.

Nothing complicated — just a fresh start.

Step 2: Set the intention

If you did not use the Reiki symbols yet, you can draw them now. Hold your hands over the box and say something like:

“You are now a Reiki Box for distance Reiki.”

If you like, you can add more, like:

“Only love can go in. May the healing for the people be for their highest and best well-being.”

Now, If Someone Needs Reiki — A Simple Way to Use Your Reiki Box for Distance Reiki (Step-by-Step)

A very simple way to start is this:

  1. Write a name on a piece of paper, and, if you like, also the time the person should receive the energy. You can also add their birthdate (if you have it) and the place where they are. A photo is perfect as well.
  2. Put this inside the box and close the lid.
  3. Take a moment to ground yourself, connect to Reiki and set a clear, loving intention.
  4. Draw the Reiki symbols over the box (as you learned in Reiki Level 2) and say the mantras.
  5. Hold your hands over the box (or hold it in your hands) and send Reiki into the box.
  6. Do it for about 10 minutes or longer - trust your intuition.

Sending Reiki to the Future

This is also possible, as I mentioned before, by writing not only the person’s name on the paper, but also the date and time they want to receive Reiki. This is very practical - especially if you don’t have time to send the energy at the exact moment the person needs it. You can basically prepare the healing beforehand.

Important note (consent + timing):

Please make sure the person you’re sending Reiki to knows about it and agrees to receive it. If you can’t reach them, you can ask their Higher Self for permission (as you learned in Reiki Level 2). Also make sure you agree on the time, don’t send it randomly, unless it is otherwise agreed. You can also use the method of sending healing to the future, which is also taught in Reiki Level 2.

That’s enough for a beginner-friendly start. Try it out and see how it works for you.
And yes, you can absolutely put your own name inside too. You deserve good energy as well. 🙂

Want an Even More Powerful Reiki Box?

Now, if you like, I would like to share with you how to create an even more powerful Reiki Box — at least from my experience. You can basically enhance the energy in the box, not just with the symbols, but another way.

I created a free PDF guide that shows you how to create a more powerful Reiki Box and how to use it in a clear, structured way for distance Reiki (including tips, setup ideas, and how to work with it over time).

👉 Download the free PDF here!

Learn Reiki Box Work in Reiki Level 2

If you want to learn Reiki Box work step-by-step (and how to work with the Reiki Level 2 symbols in a practical way), you’ll find it inside my course:

👉 How to Work with the Reiki Level 2 Symbols 

Or if you are still looking to learn Reiki, or Reiki Level 2, then click here.👈

So let me know how it goes — I would love to hear from you in our community.

Daniela

👉 Download the free PDF here!

Categories: : Reiki